A character sheet brings several views of the same person into one image. Use it as a reference when generating new AI images or videos.
The goal: one identity, five clear views and the same outfit.
Simple vs. overloaded
Start with five large views. A 24-panel sheet can be useful for studying details, but gives each view less space and mixes expressions you may not need. More panels do not guarantee better consistency.
1. Upload a reference photo
Open Higgsfield or another generator that accepts multiple reference images. Upload a clear photo of the person first: this is @Image1. Make sure the face is visible; to preserve a complete outfit, choose a photo that also shows the clothing.
2. Add the template
Download the five-view template.
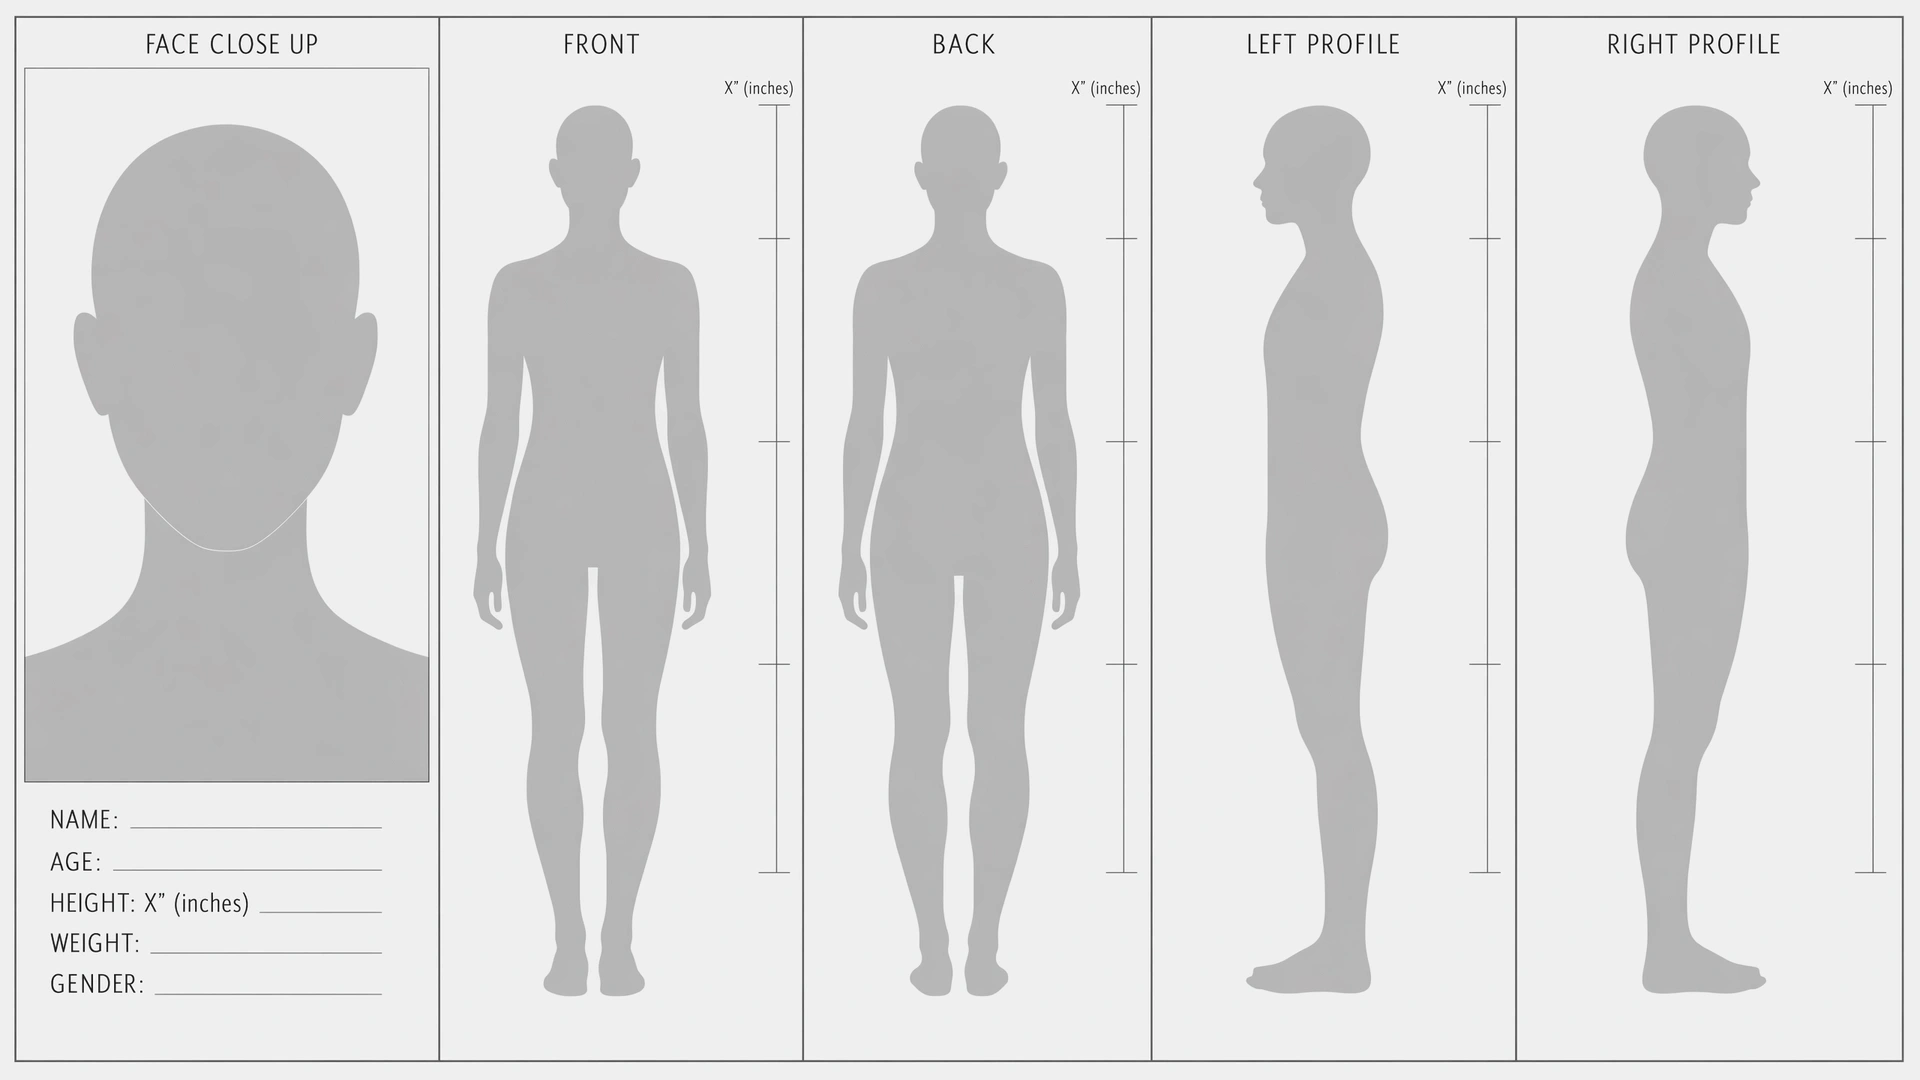
Upload it second: this is @Image2. The first reference defines the person; the second defines the sheet's layout.
3. Copy the prompt and generate
Replace the bracketed fields or write leave blank. Keep the panel labels exactly as shown in the template. If your tool uses different reference names, replace @Image1 and @Image2 with those names.
@Image1 = character identity. @Image2 = blank character sheet template.

Create a five-panel character sheet using the person in @Image1 and the layout of @Image2.

Use these exact labels, left to right:
FACE CLOSE UP | FRONT | BACK | LEFT PROFILE | RIGHT PROFILE

Keep the same face, hair, skin tone, body proportions and outfit across all five panels. Use the outfit visible in @Image1; keep any unseen clothing simple and consistent.

FACE CLOSE UP: front-facing headshot, neutral expression, clear facial detail.
FRONT, BACK and both profiles: full body, neutral standing pose, arms relaxed, legs straight. Match the profile directions shown in @Image2.

Preserve the template's panel layout, rulers, typography and information block. The silhouettes are layout placeholders, not the character's body shape.
Use soft, even studio lighting and a light grey background. No props, scenery, extra panels or extra labels.

NAME: [name or leave blank]
HEIGHT: [height in inches or leave blank]
Leave AGE, WEIGHT and GENDER blank.

If height is provided, use the same value in the information block and all four rulers. Align each full-body figure's head and feet to the same scale. If height is unknown, leave the height values blank; do not invent measurements.

Priority: identity first, then template layout, then consistency across views.
Check before using it
- The same face, hair and outfit in every view.
- Full bodies and consistent proportions in all four standing panels.
- Opposite profile directions, matching the template.
- The same height on every ruler, or blank values if you do not know it.
Save the sheet that best preserves the identity and use it as a reference for your next generation. If a view changes too much, fix it before continuing: a sheet provides context, but does not guarantee identical results.